
Does your home feel crowded with things you no longer use? Are your countertops covered with random items, your closets overflowing, and your storage spaces full of forgotten belongings?
If so, you’re not alone. Clutter can build up gradually until even simple cleaning tasks feel overwhelming. The good news is that you don’t need to spend weeks organizing your home to make a noticeable difference.
With a clear plan and a little determination, you can make meaningful progress in just one day.
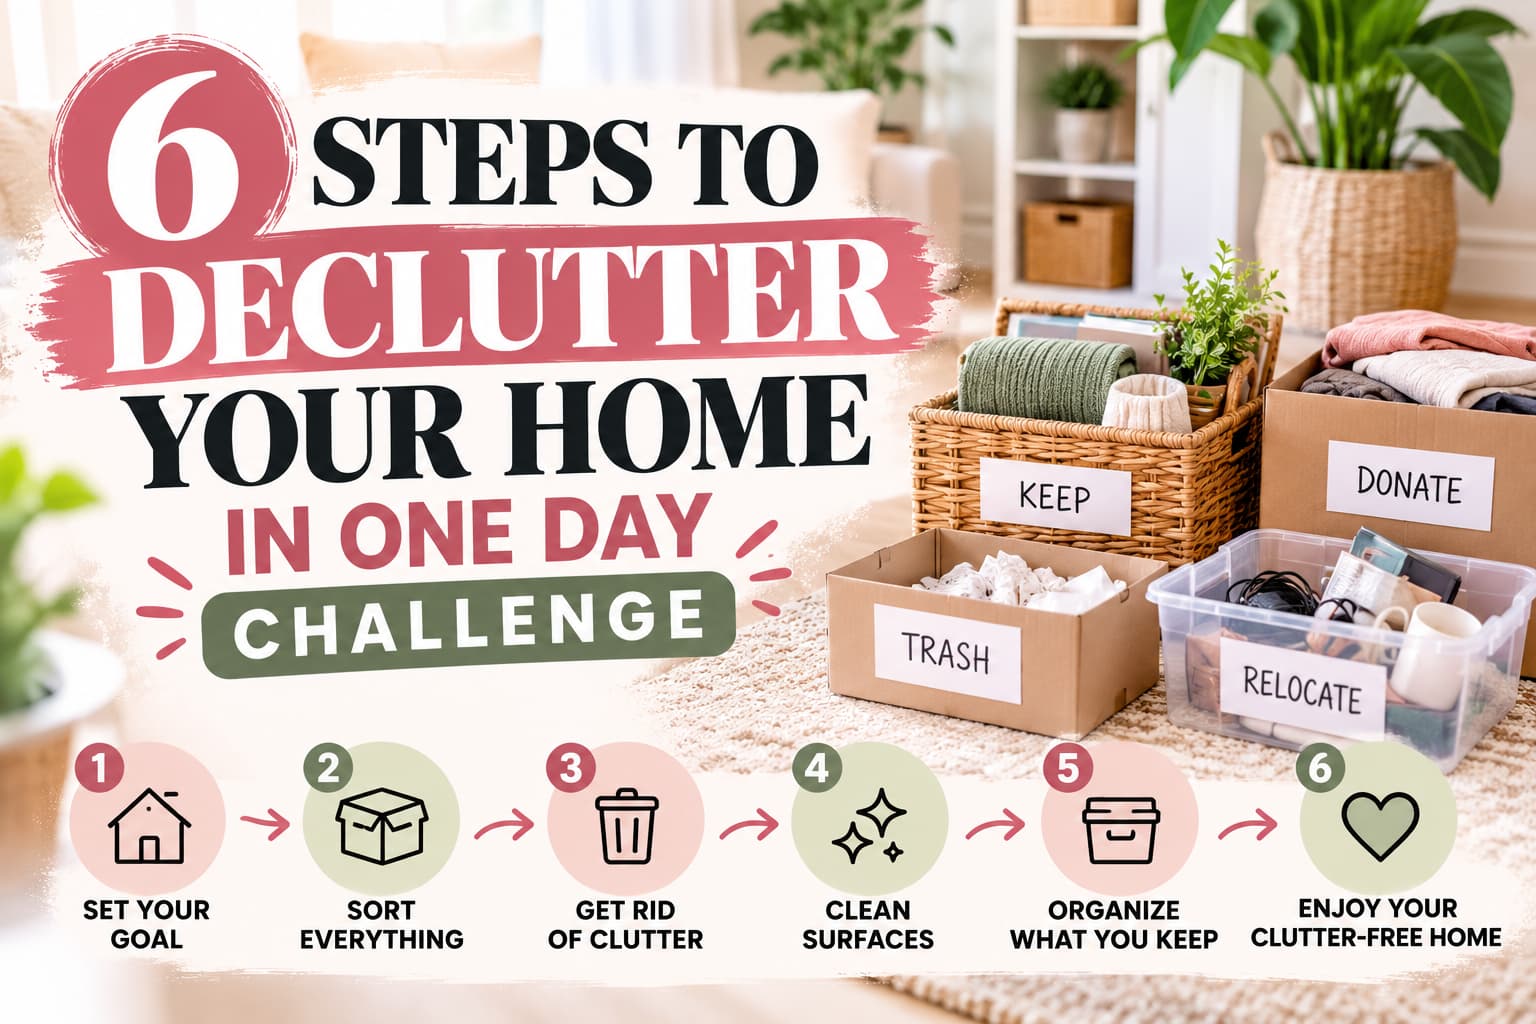
This 6-step decluttering challenge will help you sort your belongings, clear unnecessary clutter, refresh your living spaces, and create a home that feels cleaner and more comfortable.
You don’t need expensive storage containers or a professional organizer. All you need are a few basic supplies, a realistic schedule, and the willingness to let go of things you no longer need.
Ready to get started? Let’s transform your home one step at a time!
Why Declutter Your Home in One Day?
Decluttering isn’t just about making your home look beautiful. It’s also about making everyday life easier.
When your belongings have designated places, it’s easier to find what you need, clean your rooms, and keep frequently used spaces functional.
Here are a few benefits of taking on a one-day decluttering challenge:
- Less visual clutter: Clear surfaces can make rooms feel more peaceful and spacious.
- Easier cleaning: Fewer unnecessary items mean fewer things to move when dusting or vacuuming.
- Better use of storage: Drawers, cupboards, and closets become more useful when they contain things you actually need.
- Fewer unnecessary purchases: Knowing what you own can help prevent duplicate shopping.
- A fresh start: Letting go of unused belongings can make your home feel lighter and more manageable.
Remember, the goal isn’t to make every room perfect in one day. Focus on the areas where decluttering will make the biggest difference.
Step 1: Set Your Goal and Make a Plan
Before touching a single item, decide what you want to accomplish.
Trying to declutter your entire house without a plan can lead to frustration. You might start in the bedroom, move to the kitchen, and end up with piles of belongings scattered everywhere.
Instead, choose a realistic goal.
For example, you might want to clear your kitchen countertops, organize your entryway, declutter one bedroom, or make your living room easier to maintain.
Choose Your Priority Areas
Walk through your home and identify the spaces that bother you most.
Consider these common problem areas:
- Kitchen countertops and drawers
- Entryway tables and shoe storage
- Bathroom cabinets
- Bedroom dressers and closets
- Living room shelves and coffee tables
- Home office desks and paperwork
Write down your top three priorities. Start with the area that will make the biggest difference to your daily routine.
Gather Your Supplies
Prepare a few basic supplies before beginning:
- Trash bags for waste
- Boxes or bags for donations
- A container for items that belong in other rooms
- Microfiber cloths and suitable cleaning products
- A timer or phone to keep track of time
Quick tip: Avoid buying organizers before you finish sorting. You may discover that you already have everything you need.
Step 2: Sort Everything Into Four Categories
Once you’ve chosen your first area, it’s time to sort.
Remove items from the selected space and place them into four categories: keep, donate, discard, and relocate.
Keep
These are items you use regularly, genuinely need, or value enough to justify the space they occupy.
Examples include your favorite kitchen utensils, everyday clothing, essential documents, and frequently used household supplies.
Donate
Set aside clean, usable belongings that no longer serve you but could benefit someone else.
Clothing, books, household accessories, and small appliances may be suitable, depending on their condition and the receiving organization’s requirements.
Discard or Recycle
Separate broken, unusable, expired, or damaged items that cannot reasonably be reused.
Recycle materials wherever local facilities accept them, and dispose of batteries, electronics, chemicals, and other special waste through appropriate collection services.
Relocate
Some items aren’t clutter at all; they’re simply in the wrong place.
Put misplaced belongings into a basket and return them to their proper rooms after finishing your current area.
Use the One-Year Question Carefully
Ask yourself whether you’ve used an item in the past year and whether you realistically expect to need it.
This question can help with clothing, decorations, and everyday household items. However, don’t automatically discard seasonal equipment, emergency supplies, important documents, or items needed only occasionally.
The goal is to make thoughtful decisions, not get rid of everything.
Step 3: Get Rid of Unnecessary Clutter
Now that you’ve sorted your belongings, remove the items you’ve decided not to keep.
This is an important step because a pile of unwanted belongings sitting in the hallway doesn’t make your home less cluttered.
Start With Easy Decisions
Begin with obvious clutter, such as:
- Empty packaging and rubbish
- Expired products
- Broken objects you won’t repair
- Duplicate items you don’t need
- Worn-out belongings that cannot be reused
Getting these things out of the way creates visible progress and helps build momentum.
Create a Donation Box
Keep a designated donation box in a convenient location.
Whenever you find a usable item that no longer belongs in your home, add it to the box. Once it’s full, arrange a donation drop-off or collection.
Avoid letting donation bags accumulate indefinitely. Give yourself a realistic deadline for dealing with them.
Handle Sentimental Items Last
Photographs, gifts, family heirlooms, and keepsakes can be more difficult to sort because they carry emotional meaning.
You don’t need to make every difficult decision during a one-day challenge. Set aside sentimental belongings for a separate session if necessary.
Decluttering should make your home more comfortable, not create unnecessary stress.
Step 4: Clean the Surfaces You’ve Cleared
Once unnecessary belongings are removed, take the opportunity to clean the newly cleared spaces.
This simple step makes the results feel more satisfying and helps you prepare the area for everyday use.
Focus on High-Impact Surfaces
Start with the surfaces you see and use most often:
- Kitchen counters
- Dining tables
- Coffee tables
- Bathroom vanities
- Bedroom dressers
- Entryway consoles
Remove dust and residue using a suitable cleaner for each surface. Follow product instructions and avoid mixing cleaning chemicals.
If you’re working in the kitchen, use products appropriate for food-contact surfaces and follow any required rinsing instructions.
Don’t Start a Deep-Cleaning Project
It’s easy to get distracted by windows, baseboards, appliances, or furniture that needs a more thorough cleaning.
For this challenge, keep your attention on the surfaces you’ve just cleared. You can schedule deeper cleaning tasks for another day.
The secret is to finish the decluttering task before adding extra work.
Step 5: Organize What You Decide to Keep
Now comes the fun part: giving your remaining belongings a logical place.
A good organizing system should make it easy to find things, use them, and put them away again.
Group Similar Items Together
Store related belongings together instead of spreading them across several locations.
For example:
- Keep cooking utensils near the area where you prepare food.
- Group everyday bathroom products in an accessible drawer.
- Store keys and sunglasses near the entryway.
- Keep frequently used stationery together in a desk organizer.
- Arrange clothing by category or how often you wear it.
This makes everyday routines simpler and reduces the chance of clutter returning.
Use What You Already Own
You don’t need a matching set of expensive baskets to organize your home.
Try these budget-friendly solutions:
- Reuse sturdy boxes as drawer dividers.
- Repurpose suitable containers for small accessories.
- Fold clothing vertically when it makes items easier to see.
- Use trays to group everyday essentials.
- Label boxes when several household members share the same storage spaces.
Before purchasing anything new, measure your storage areas and consider whether the item will solve a genuine problem.
Keep Frequently Used Items Within Reach
Store everyday essentials where they’re easy to access. Less frequently used belongings can go on higher shelves or in less convenient storage areas, provided they’re stored safely.
For homes with children, keep medicines, cleaning products, sharp tools, batteries, and other hazardous items secured out of reach.
Step 6: Enjoy Your Clutter-Free Space and Maintain It
You’ve sorted, removed unnecessary belongings, cleaned surfaces, and organized the items you decided to keep.
Now take a moment to appreciate the difference.
Look at the space you transformed. Notice how much easier it is to find things, clean surfaces, or move around without unnecessary obstacles.
The next step is to make sure the clutter doesn’t return.
Follow the Five-Minute Reset
At the end of each day, spend five minutes returning misplaced items to their proper places.
Put away clothing, clear the coffee table, return kitchen tools, and remove rubbish before it accumulates.
You don’t need to reset every room perfectly. Focus on the spaces your household uses most.
Try the One-In, One-Out Rule
When practical, consider removing one comparable item when you bring another into your home.
For example, if you purchase a new sweater, consider whether there’s an older one you no longer wear that could be donated.
This approach isn’t suitable for every category, but it can help prevent unnecessary accumulation.
Schedule a Weekly Decluttering Session
Choose one small area to review each week. It could be a drawer, a bathroom shelf, a kitchen cupboard, or the entryway.
Regular maintenance is usually easier than waiting until clutter becomes overwhelming again.
Your One-Day Decluttering Schedule
Use this example schedule to organize your day without spending too much time on one task.
| Time | Task |
|---|---|
| 9:00–9:20 AM | Set goals and gather supplies |
| 9:20–10:30 AM | Declutter your highest-priority area |
| 10:30–10:45 AM | Take a short break |
| 10:45 AM–12:00 PM | Sort belongings and remove unwanted items |
| 12:00–1:00 PM | Lunch and rest |
| 1:00–2:00 PM | Declutter another priority area |
| 2:00–2:45 PM | Clean cleared surfaces |
| 2:45–3:45 PM | Organize the items you’re keeping |
| 3:45–4:00 PM | Remove rubbish and prepare donations |
| 4:00–4:15 PM | Review your progress and plan maintenance |
Adjust this schedule to suit your home, energy level, and available time. A smaller home may require less time, while a large home or heavily cluttered space may need several sessions.
It’s better to finish a few important areas than to empty every cupboard and leave everything unfinished.
Common Decluttering Mistakes to Avoid
Even with a clear plan, a few common mistakes can make decluttering harder than necessary.
Trying to Do Too Much
Setting unrealistic goals can leave you exhausted. Choose a manageable number of priority areas and accept that some spaces may need attention another day.
Emptying Too Many Storage Spaces at Once
Avoid emptying every drawer, cupboard, and closet simultaneously. Complete one area before moving to the next so your home doesn’t become more disorganized during the process.
Keeping Things Out of Guilt
You don’t have to keep every gift, purchase, or inherited object forever. Appreciate the memories associated with belongings while making decisions based on your current needs and available space.
Buying Storage Products Before Sorting
Containers won’t solve a clutter problem if you haven’t decided what you actually need to keep. Sort first, then purchase organizers only if necessary.
Forgetting to Remove Donation Bags
Once you’ve decided to let go of something, follow through. Arrange a drop-off, collection, or suitable recycling option so unwanted belongings don’t become another source of clutter.
Frequently Asked Questions
Can I really declutter my entire home in one day?
You can make substantial progress in one day, particularly in a small home or if clutter is relatively manageable. However, a large home or extensive accumulation may require more time. Focus on the areas that matter most rather than aiming for perfection.
Where should I start decluttering?
Start with a visible, manageable area that affects your daily life. A kitchen counter, entryway, bedside table, or single drawer can be a good starting point.
What should I do with things I might need someday?
Consider how likely you are to use the item, whether it’s difficult to replace, and whether it serves an important purpose. Keep essential emergency supplies, important records, and genuinely useful seasonal belongings. Avoid keeping large quantities of items based only on vague possibilities.
How do I declutter without spending money?
Use boxes you already own, repurpose suitable containers, donate usable belongings, and focus on removing unnecessary items before buying anything new.
How can I keep my home clutter-free?
Create simple storage systems, return items after use, review one small area weekly, and avoid bringing home belongings you don’t have a clear use or place for.
Final Thoughts: A Fresh Start in Just One Day
Decluttering your home doesn’t have to mean throwing everything away or spending an entire weekend cleaning.
With these six steps, you can set a goal, sort your belongings, remove unnecessary clutter, clean cleared surfaces, organize what remains, and create habits that help maintain your progress.
Start small, stay focused, and remember that a functional home is more important than a perfect one.
Your challenge starts today: Choose one area, gather your supplies, and take the first step toward a more organized home.
Save the six-step checklist, share the challenge with a friend, and revisit this guide whenever your home needs a fresh start.
For more practical home organization tips, affordable DIY ideas, and simple ways to improve your living space, explore more articles on DIYHomeWise.


Leave a Reply