
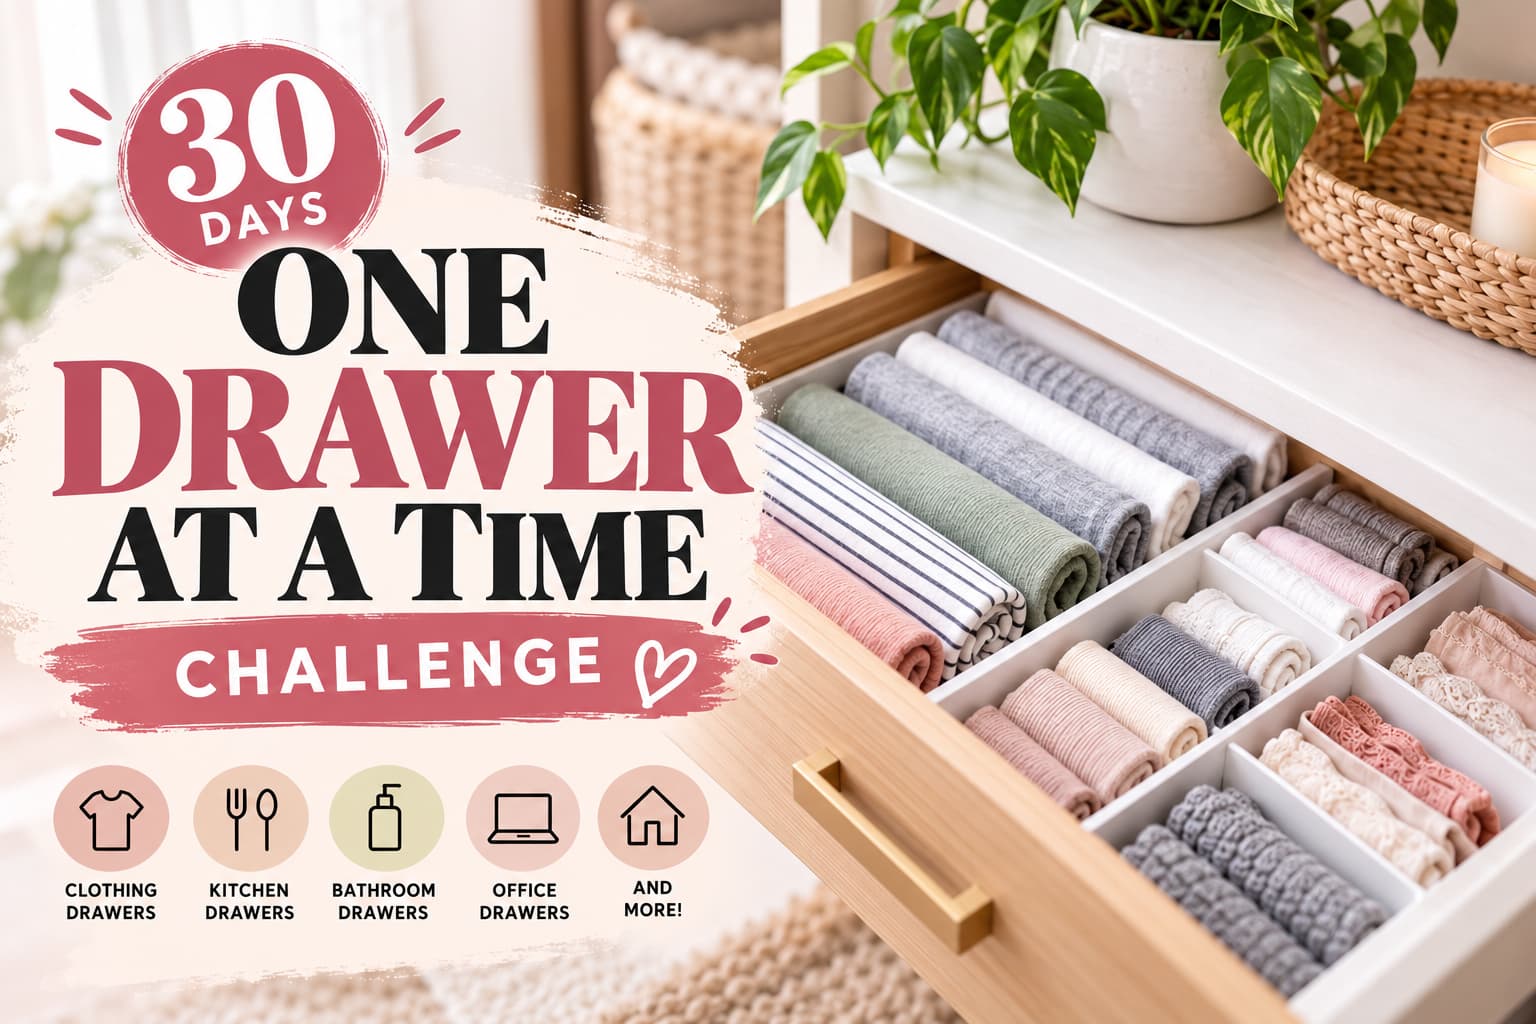
Declutter Your Home Without Feeling Overwhelmed
Does your junk drawer refuse to close? Are your kitchen utensils mixed together, your bathroom drawers overflowing, or your dresser full of clothes you rarely wear?
You’re not alone. Clutter builds up gradually, one forgotten receipt, unused gadget, and misplaced item at a time. Before you know it, even the smallest storage spaces can feel impossible to manage.
The good news? You don’t need to spend an entire weekend cleaning your house or buy expensive organizing products to make a difference.
The 30-Day One Drawer at a Time Challenge is a simple, realistic way to declutter your home by tackling one small task each day. Instead of trying to organize everything at once, you’ll focus on manageable spaces and build habits that help keep your home tidy.
Whether you’re organizing a small apartment, refreshing a busy family home, or simply trying to create more breathing room, this challenge can help you get started.
Let’s take it one drawer at a time!
What Is the One Drawer at a Time Challenge?
The One Drawer at a Time Challenge is a 30-day home decluttering plan that breaks a big organizing project into smaller, less stressful tasks.
Each day, you focus on one drawer, one category of belongings, or one simple organizing job. Some tasks take only five minutes, while others may need a little more time.
The goal isn’t to create a picture-perfect home overnight. It’s to make your spaces more functional, reduce unnecessary clutter, and give everyday items a place to belong.
By the end of 30 days, you’ll have worked through several of the most frequently cluttered areas of your home.
The golden rule: Finish one small task before moving on to the next. Progress matters more than perfection.
Why Organizing One Drawer at a Time Works
Decluttering an entire home can feel overwhelming, especially when you have a busy schedule. A smaller approach makes it easier to begin and maintain momentum.
Here are some reasons this method works so well.
1. It Makes Decluttering More Manageable
Looking at a messy house can leave you unsure where to begin. A single drawer gives you a clear starting point and a specific finish line.
Instead of planning an entire kitchen makeover, you might spend ten minutes sorting your cutlery drawer. That small accomplishment can motivate you to keep going.
2. It Saves Time
You don’t need hours of free time to participate. Many tasks can be completed during a short break or while waiting for dinner to cook.
Even five to fifteen minutes of focused effort can make a noticeable difference in a small space.
3. It Helps You Discover What You Actually Use
Drawers often hide duplicates, broken items, forgotten purchases, and things we keep simply because we might need them someday.
Sorting through these belongings helps you decide what deserves valuable storage space.
4. It Can Save Money
When everything has a designated place, you’re less likely to buy things you already own. You may also discover that you can organize your home using containers and dividers you already have.
5. It Builds Sustainable Habits
Rather than relying on an occasional major cleaning session, you learn to make small organizing decisions regularly. Those habits can make future decluttering easier.
Your Complete 30-Day One Drawer at a Time Challenge
Use the following checklist to work through the challenge at your own pace. If you miss a day, simply continue when you’re ready. There’s no need to start over.
Week 1: Start With Clothing Drawers
Begin with familiar spaces that are easy to sort and don’t require complicated decisions.
Day 1: Organize your sock drawer. Pair matching socks, remove worn-out pairs, and arrange the rest in neat rows.
Day 2: Declutter your T-shirt drawer. Fold the shirts you wear regularly and set aside items that no longer fit or suit your needs.
Day 3: Sort your pajamas. Keep comfortable sleepwear and donate or repurpose suitable items you no longer use.
Day 4: Refresh your workout clothes. Group leggings, sports bras, shorts, and tops together. Remove damaged or uncomfortable pieces.
Day 5: Organize underwear and everyday essentials. Use simple dividers if you have them, or create sections within the drawer.
Day 6: Tidy your seasonal accessories. Fold scarves, gloves, belts, or other accessories and group similar items together.
Day 7: Review your progress. Revisit any clothing drawer that needs a final adjustment, and return misplaced items to their proper homes.
Week 2: Make Your Kitchen Drawers More Functional
Kitchen drawers become cluttered quickly because they’re used every day. A little organization can make cooking and cleaning easier.
Day 8: Sort kitchen utensils. Keep the tools you use regularly and remove broken or unnecessary duplicates.
Day 9: Organize your cutlery. Separate forks, knives, tablespoons, and teaspoons using a tray or simple compartments.
Day 10: Check your spice drawer. Remove expired spices and group the remaining containers so they’re easy to find. Follow the storage guidance on each product.
Day 11: Create a tea and coffee drawer. Group tea bags, coffee supplies, filters, and measuring spoons together.
Day 12: Tidy food-storage accessories. Sort reusable bags, clips, wraps, and lunch accessories. Keep only useful items.
Day 13: Organize measuring tools and cooking gadgets. Group measuring spoons, thermometers, peelers, and similar tools.
Day 14: Reset one kitchen drawer. Remove everything, wipe the drawer clean, and return only the items that belong there.
Week 3: Refresh Bathroom and Home Office Drawers
These areas often contain small items that are easy to forget about.
Day 15: Declutter skincare products. Check expiration dates and product instructions, and discard anything expired or unsuitable according to the label.
Day 16: Organize makeup. Remove empty containers and products you no longer use. Keep everyday essentials accessible.
Day 17: Sort hair tools and accessories. Untangle cords, group brushes and clips, and store electrical tools safely according to their instructions.
Day 18: Check first-aid supplies. Review expiration dates and replace items as needed. Store medicines and medical supplies safely away from children.
Day 19: Tidy your pen and stationery drawer. Test pens, recycle unnecessary paper, and group frequently used supplies.
Day 20: Organize important papers. Sort receipts, manuals, warranties, and household documents. Keep important records securely and follow applicable document-retention requirements.
Day 21: Untangle charging cables. Identify cables and adapters, label them if useful, and safely recycle unwanted electronics through an appropriate collection program.
Week 4: Tackle the Junk Drawer and Forgotten Spaces
Now it’s time to tackle the miscellaneous drawers that collect items without an obvious home.
Day 22: Declutter the junk drawer. Remove everything and sort it into categories such as tools, stationery, batteries, and items that belong elsewhere.
Day 23: Organize keys and small essentials. Keep spare keys in a secure, clearly designated location and group everyday accessories together.
Day 24: Sort craft supplies. Organize scissors, tape, markers, ribbon, and other materials by category.
Day 25: Create a pet essentials drawer. Group grooming supplies, waste bags, and small accessories while keeping hazardous products safely stored.
Day 26: Organize your entryway drawer. Create a convenient place for everyday items such as sunglasses, reusable shopping bags, and accessories.
Day 27: Refresh your linen drawer. Fold towels, washcloths, and spare pillowcases neatly. Group items by size or purpose.
Day 28: Sort household tools and accessories. Organize measuring tapes, small tools, spare hardware, and other DIY essentials. Store sharp objects and hazardous materials safely.
Day 29: Remove items you no longer need. Review the items you’ve set aside throughout the challenge. Donate usable belongings, recycle eligible materials, and dispose of waste responsibly.
Day 30: Celebrate and create a maintenance routine. Wipe down your drawers, return misplaced items, and choose a simple weekly reset that takes around five minutes.
Congratulations! You’ve completed the challenge. More importantly, you’ve started building a practical home organization routine.
How to Declutter a Drawer in 10 Minutes
Not every drawer needs a complete makeover. Use this quick method whenever you want to make progress without spending too much time.
Step 1: Empty the Drawer
Take everything out so you can see exactly what you have. Place the contents on a clean surface.
Step 2: Remove Obvious Clutter
Set aside rubbish, empty packaging, broken items, and belongings that clearly don’t belong there.
Step 3: Group Similar Items
Place similar things together. For example, group pens with stationery, socks with socks, and cooking utensils with other kitchen tools.
Step 4: Decide What Deserves Space
Ask yourself three questions:
- Do I use this item?
- Does it belong in this drawer?
- Is there a better place to store it?
Be realistic about what you need to keep.
Step 5: Return Items Neatly
Arrange the remaining belongings so you can see and reach them easily. Use existing boxes or small containers if they help.
Step 6: Maintain the Result
Before closing the drawer, make sure every item has a clear purpose and place. Repeat a quick reset whenever clutter begins to return.
Affordable Drawer Organization Ideas
You don’t need expensive organizers to create tidy drawers. Try these budget-friendly solutions first.
- Reuse small boxes: Clean, sturdy boxes can separate stationery, accessories, and other small objects.
- Use adjustable dividers: These can help keep clothing, utensils, and household essentials separated.
- Try repurposed containers: Suitable containers you already own can hold small items without requiring a new purchase.
- Fold clothing vertically: When practical, arranging folded clothes upright makes it easier to see each item.
- Label selected sections: Labels can help family members return belongings to the right place.
- Keep frequently used items accessible: Store everyday essentials toward the front and occasional-use items farther back.
Before buying organizers, measure the inside of your drawer. This helps you avoid purchasing containers that don’t fit.
Common Decluttering Mistakes to Avoid
Even a simple organizing project can become frustrating if you make it harder than necessary.
Trying to organize everything at once. Focus on one drawer or one clearly defined task.
Buying storage products too early. Sort your belongings first so you know what storage solutions you actually need.
Keeping too many duplicates. Retain a reasonable number of useful extras rather than allowing them to fill the drawer.
Making every drawer look perfect. Your organization system should work for your daily life, not just look good in a photograph.
Ignoring maintenance. A quick weekly reset can help prevent clutter from building up again.
Feeling guilty about letting things go. You can appreciate an item without needing to keep it forever. Consider donating usable belongings when appropriate.
How to Stay Organized After the 30-Day Challenge
The real benefit of this challenge is creating a home that’s easier to maintain.
Try these simple habits:
- Return items to their designated places after use.
- Avoid filling empty drawer space just because it’s available.
- Review one small area every week.
- Remove unnecessary items before purchasing new storage containers.
- Encourage household members to follow the same simple organization system.
You can also repeat the challenge whenever a new season, move, or change in your household routine creates a need to declutter.
Frequently Asked Questions
How long should I spend on each drawer?
Start with five to fifteen minutes. Some drawers may take longer, especially if they contain papers or many small objects. Stop at a sensible point and continue later if necessary.
Should I empty the entire drawer first?
For most small drawers, yes. Emptying it helps you see the contents and clean the interior. For very large or complicated drawers, working in sections may be more practical.
What should I do with items I no longer need?
Donate clean, usable items when accepted by local organizations, recycle materials where facilities allow, and dispose of damaged or unsafe items appropriately. Protect personal information before discarding documents or electronics.
Do I need to buy drawer organizers?
No. Start with what you already have. Simple boxes, dividers, and repurposed containers can work well.
What if I miss a day?
Don’t worry. Continue with the next task when you have time. The challenge is a guide, not a deadline.
Can I complete the challenge with my family?
Absolutely. Assign age-appropriate tasks, work together on shared spaces, and let each family member help decide how their own belongings should be organized.
Start Your One Drawer at a Time Challenge Today
A more organized home doesn’t have to begin with a huge cleaning project. It can start with one small decision, one cleared space, and one drawer that finally closes without a struggle.
The 30-Day One Drawer at a Time Challenge gives you a practical way to make steady progress without feeling overwhelmed. By focusing on manageable tasks, you’ll have more opportunities to discover what you own, find what you need, and make better use of your storage space.
Your first task is simple: choose one drawer, set a timer for ten minutes, and begin.
Don’t forget to save or print the 30-day checklist so you can follow along and celebrate each small win.
Which drawer will you organize first? Share your answer and start your journey toward a calmer, clutter-free home.
For more practical home organization tips, budget-friendly DIY ideas, and simple ways to improve your living space, explore more guides here at DIYHomeWise.


Leave a Reply