
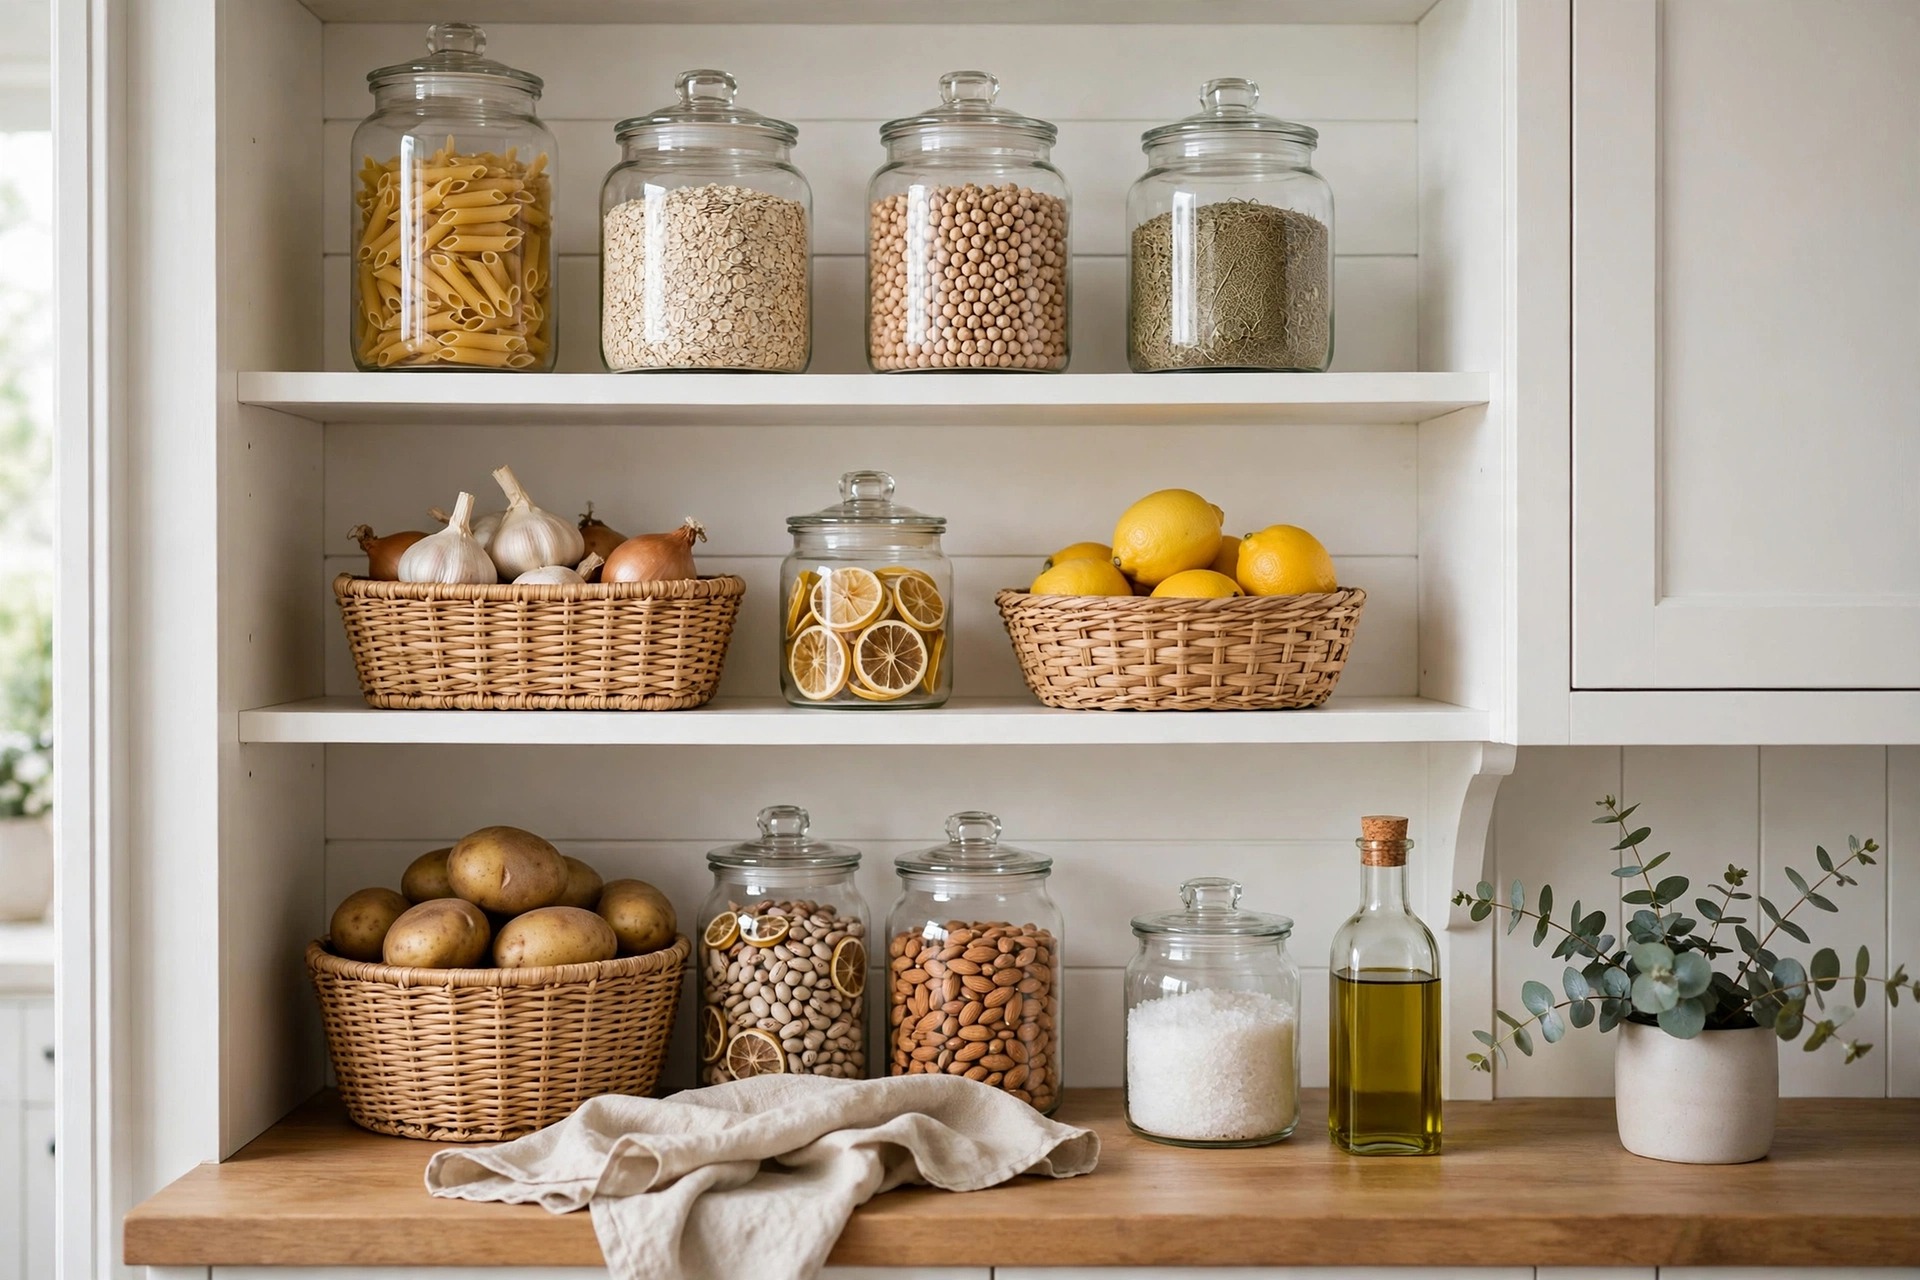
A cluttered kitchen can make everyday cooking feel stressful, especially when cabinets are overflowing, drawers are disorganized, and countertops have little room to work. The good news is that you don’t need a complete kitchen renovation to create a cleaner, more functional space. With a few clever storage solutions and simple DIY projects, you can transform even a small kitchen into an organized and efficient cooking area.
These DIY kitchen organization ideas focus on making better use of the space you already have. From creating a practical spice rack to organizing food containers, pot lids, pantry doors, and under-sink cabinets, each project can help you save space, find items faster, and keep your kitchen tidy.
Whether you’re organizing a small apartment kitchen or refreshing a busy family kitchen, these budget-friendly solutions can make a noticeable difference.
1. Create a DIY Spice Rack
Spices often end up scattered across shelves, hidden behind larger containers, or crowded together in a drawer. A dedicated spice rack makes your favorite seasonings easier to find while freeing up valuable cabinet space.
What you’ll need:
- A small wooden board or narrow shelf
- Measuring tape and a pencil
- Screws or suitable mounting hardware
- Small spice jars and labels
- Optional paint or wood stain
How to make it:
- Measure an available wall, cabinet, or pantry area.
- Cut or purchase a shelf that fits the space.
- Sand the wood and apply paint or stain if desired.
- Secure the shelf to an appropriate surface using suitable hardware.
- Arrange spice jars alphabetically or by cooking category.
For a renter-friendly option, use a freestanding tiered spice organizer inside a cabinet or a magnetic rack designed for your refrigerator.
Budget tip: Reuse clean jars of similar sizes and add simple printed labels for a coordinated appearance.
Product opportunity: Tiered spice racks, magnetic spice containers, glass jars, and waterproof labels.
2. Organize Food Storage Containers With Matching Sets
Food storage containers are useful, but mismatched lids and bulky shapes can quickly turn a cabinet into a mess. A simple organizing system can help you keep every container and lid together.
Start by removing everything from the cabinet. Match each lid to its container, discard damaged pieces appropriately, and donate or recycle usable items according to local guidelines.
Next, group containers by size and shape. Store them nested together when possible, and place lids vertically in a dedicated divider.
Steps to organize your containers:
- Empty the entire cabinet or drawer.
- Match lids and containers.
- Separate small, medium, and large pieces.
- Nest containers of similar shapes.
- Store lids in an adjustable divider or narrow bin.
- Keep frequently used containers near your food preparation area.
Rectangular and square containers often use shelf space more efficiently than round ones.
Budget tip: Use a sturdy file organizer or an appropriately sized open bin to separate lids.
Product opportunity: Glass food storage sets, stackable containers, lid organizers, and adjustable cabinet dividers.
3. Build a Simple Pot Lid Organizer
Pot lids can be difficult to stack because their handles prevent them from lying flat. Instead of piling them on top of pots, store them vertically.
A lid organizer can be installed inside a cabinet door, placed in a deep drawer, or positioned on a shelf.
How to organize pot lids:
- Measure the available cabinet or drawer space.
- Choose a rack with adjustable slots or individual dividers.
- Position the largest lids at the back and smaller lids toward the front.
- Keep lids close to the pots and pans you use most often.
If you want a DIY solution, install securely mounted dividers inside a drawer or use a freestanding plate rack that fits your lids.
Always check the rack’s dimensions and weight capacity before purchasing.
Budget tip: A simple wire rack can be more affordable than a custom-built organizer.
Product opportunity: Pot lid holders, pan organizers, adjustable dividers, and pull-out cabinet racks.
4. Use the Inside of Pantry Doors
The back of a pantry door is often overlooked, yet it can provide valuable storage space for lightweight kitchen essentials.
A door-mounted organizer can hold spice packets, snack bags, small jars, measuring spoons, or frequently used pantry items.
How to make the most of pantry doors:
- Measure the door and check how much clearance is available when it closes.
- Choose a slim rack or adjustable door organizer.
- Place frequently used items at eye level.
- Store lighter items in upper sections and heavier items only where the rack is designed to support them.
- Label baskets to make everything easier to find.
If you prefer not to drill holes, choose an over-the-door organizer or a mounting system approved for the door’s material and weight.
Avoid placing heavy objects on a door that cannot safely support them.
Budget tip: Repurpose small baskets or narrow containers that fit securely inside your pantry.
Product opportunity: Over-the-door pantry racks, narrow baskets, hanging organizers, and adhesive storage hooks.
5. Make DIY Drawer Dividers
Kitchen drawers frequently collect a mixture of utensils, gadgets, measuring tools, and miscellaneous items. Drawer dividers create separate zones so everything has a place.
You can make custom dividers from thin plywood, unfinished wood strips, or sturdy adjustable inserts.
Materials:
- Measuring tape
- Pencil
- Thin wood strips or adjustable dividers
- Sandpaper
- Optional wood glue
Instructions:
- Remove all items and measure the drawer’s interior dimensions.
- Decide which utensils need their own sections.
- Cut the divider pieces to fit, allowing enough room for the drawer to open smoothly.
- Sand any rough edges.
- Assemble the sections and test the fit before adding utensils.
For a no-tools alternative, use expandable drawer dividers or modular trays.
Organization tip: Keep everyday utensils in the most accessible section. Store specialty gadgets elsewhere so they don’t crowd your main drawer.
Product opportunity: Bamboo drawer dividers, expandable organizers, utensil trays, and modular storage inserts.
6. Maximize Under-Sink Storage
The cabinet beneath the kitchen sink is often difficult to organize because of pipes, cleaning supplies, and irregular shapes. The best approach is to divide the available space into smaller storage zones.
Start with a complete reset:
- Remove all items from the cabinet.
- Check for leaks, moisture, or damaged materials.
- Discard expired products and dispose of unwanted chemicals according to their labels and local guidance.
- Measure around the plumbing.
- Add storage that fits the available space.
Stackable bins, small pull-out drawers, and narrow organizers can help you use the space without blocking pipes or shutoff valves.
Store cleaning products upright and in their original containers. Keep chemicals away from food, children, and pets, and never mix cleaning products.
Budget tip: Reuse sturdy bins you already own, provided they are clean and suitable for the products being stored.
Product opportunity: Under-sink organizers, adjustable shelves, pull-out baskets, and leak-resistant storage trays.
7. Add a Pull-Out Pantry for Narrow Spaces
A narrow gap beside the refrigerator or between cabinets may seem useless, but it can sometimes accommodate a slim pull-out pantry.
A ready-made rolling cart is the easiest option. For a DIY version, you can build a narrow shelving unit with wheels, provided it is stable and properly sized for the available opening.
How to plan it:
- Measure the gap’s width, depth, and height.
- Account for handles, wall trim, and appliance ventilation requirements.
- Choose shelves tall enough for the items you want to store.
- Add suitable wheels with locking mechanisms if needed.
- Secure the unit against tipping where appropriate.
Use the shelves for lightweight pantry goods, canned items within the unit’s weight limits, or kitchen essentials.
Never obstruct appliance ventilation or access to electrical connections.
Product opportunity: Slim rolling carts, pull-out pantry shelves, narrow storage towers, and stackable bins.
8. Install a Wall-Mounted Mug Rack
Mugs can take up a surprising amount of cabinet space. A wall-mounted mug rack can move them onto an unused wall while creating a cozy coffee station.
Choose a rack with hooks designed to support the weight of your mugs. Mount it to a suitable wall surface using appropriate hardware, and check that mugs won’t interfere with doors or walkways.
Simple styling ideas:
- Arrange mugs by color for a coordinated look.
- Place the rack near your coffee maker.
- Add a small shelf for coffee beans, tea, or sugar.
- Keep the area uncluttered by displaying only your favorite mugs.
If drilling is not an option, use a freestanding mug tree or an under-shelf mug hanger rated for your cabinet.
Product opportunity: Mug hooks, coffee station shelves, mug trees, and under-shelf hangers.
9. Use Stackable Shelves Inside Cabinets
Many kitchen cabinets have more vertical space than their contents require. Instead of stacking plates, bowls, and cups into tall piles, add small shelf inserts to create additional levels.
Stackable cabinet shelves can help separate dinner plates from bowls or create a dedicated section for mugs.
How to choose the right shelves:
- Measure the cabinet’s width, depth, and height.
- Check the clearance needed for the tallest items.
- Select shelves that support the intended weight.
- Place heavy dishes on lower, stable shelves.
- Avoid overloading existing cabinet shelves.
Freestanding shelf inserts are especially useful because they can often be removed or repositioned without permanently changing the cabinets.
Budget tip: Start with one shelf insert in the cabinet that causes the most frustration.
Product opportunity: Expandable cabinet shelves, stackable racks, plate organizers, and under-shelf baskets.
10. Create a Better System for Pots and Pans
Pots and pans are bulky and can be difficult to access when stacked. A dedicated arrangement can protect cookware and make cooking more convenient.
Begin by grouping cookware by size and frequency of use. Keep everyday pans within easy reach and move specialty cookware to less accessible areas.
Practical storage ideas:
- Use a vertical pan organizer for frying pans and baking trays.
- Store compatible pots inside one another.
- Place protective separators between delicate or coated cookware.
- Store lids in a separate rack.
- Use deep drawers for heavier cookware when the drawers are designed to support it.
Avoid stacking heavy pans in a way that makes the entire pile unstable or difficult to lift.
Budget tip: Repurpose sturdy vertical organizers if they fit securely and can handle the weight.
Product opportunity: Pan organizers, pot racks, cookware protectors, and lid holders.
11. Organize the Pantry With Clear Containers
A well-organized pantry makes it easier to see what you have, plan meals, and avoid buying duplicates.
Clear containers can be useful for dry goods such as rice, pasta, flour, cereal, and beans. However, you don’t need to replace every package to create an organized pantry.
How to organize your pantry:
- Remove expired or unwanted items.
- Group foods into categories such as breakfast, baking, snacks, and grains.
- Place frequently used items on easy-to-reach shelves.
- Use clear, food-safe containers for suitable dry goods.
- Label containers with the product name and relevant date information.
- Keep original packaging or ingredient information when it is important for allergens, cooking instructions, or traceability.
Transfer dry foods only into clean, completely dry, food-safe containers with suitable lids. Store foods according to their packaging instructions.
For a lower-cost option, use matching baskets to group original packages instead of purchasing a complete container set.
Product opportunity: Airtight food containers, pantry labels, storage baskets, and modular pantry bins.
12. Add a Pegboard for Kitchen Tools
A pegboard can turn an unused wall into flexible storage for selected kitchen tools. It works especially well in kitchens with limited drawer space.
A pegboard system can hold lightweight utensils, measuring cups, oven mitts, and other frequently used accessories when fitted with appropriate hooks and mounted securely.
How to create a pegboard station:
- Choose a wall that is away from direct heat and cooking splashes.
- Measure the available area.
- Select a pegboard and mounting system suitable for the wall.
- Install it according to the manufacturer’s instructions.
- Arrange hooks and accessories by category.
- Leave enough space between items to remove them easily.
Avoid hanging heavy cookware unless the board, hooks, mounting system, and wall are specifically designed to support it.
Styling tip: Paint the board a neutral color or coordinate it with your kitchen’s existing finishes.
Product opportunity: Pegboard kits, kitchen hooks, utensil holders, and wall-mounted organizers.
13. Organize Cleaning Supplies With a Caddy
Keeping kitchen cleaning products in one portable caddy can make daily tidying easier. Instead of searching through several shelves, you can carry the products you need from one area to another.
Choose a sturdy caddy that fits inside your cabinet and is large enough to keep products upright.
Create your cleaning station:
- Group products by intended use.
- Keep bottles closed and upright.
- Separate incompatible chemicals.
- Store products in their original labeled containers.
- Keep cleaning supplies away from food and out of children’s reach.
- Check products periodically for leaks or expired instructions.
Do not combine cleaning chemicals, and always follow the manufacturer’s safety directions.
For households with limited storage, a narrow caddy can fit beside other under-sink organizers.
Product opportunity: Cleaning caddies, cabinet baskets, spray bottle holders, and under-sink storage systems.
14. Make a DIY Kitchen Command Center
A small kitchen command center can keep grocery lists, meal plans, shopping reminders, and household notes in one place.
You can create one using a small wall board, a magnetic organizer, a paper planner, or a combination of these items.
What to include:
- A weekly meal planner
- A grocery shopping list
- A calendar or reminder board
- A small pocket for receipts or coupons
- A pen holder
- A section for frequently needed household information
Choose a location that is easy to access but does not interfere with cooking, appliance doors, or food preparation surfaces.
For a simple DIY project, frame a reusable writing board and add a small holder for markers or notes.
Budget tip: Use a notebook or printable planner if you don’t want to install anything on the wall.
Product opportunity: Magnetic planners, wall organizers, dry-erase boards, and grocery list pads.
15. Create Zones for a More Functional Kitchen
One of the most effective kitchen organization methods is to store items according to how you use them. This reduces unnecessary movement and makes it easier for everyone in the household to put things away.
Create a few simple zones:
Food preparation zone: Keep cutting boards, knives, mixing bowls, and measuring tools near your main preparation area.
Cooking zone: Store pots, pans, spatulas, and frequently used seasonings near the stove, while keeping heat-sensitive items safely away from direct heat.
Cleaning zone: Group dish soap, sponges, and appropriate cleaning supplies near the sink.
Food storage zone: Keep food containers and their lids together near the area where you pack leftovers.
Breakfast or coffee zone: Arrange mugs, coffee, tea, and breakfast essentials in one convenient location.
You don’t need to buy new organizers for every zone. Start by rearranging what you already own, then purchase only the storage solutions that solve a specific problem.
How to Organize a Kitchen on a Small Budget
Kitchen organization doesn’t have to become an expensive shopping project. In many cases, the biggest improvement comes from removing unnecessary items and using existing space more effectively.
Try these budget-friendly strategies:
- Declutter before buying: Remove duplicates, broken tools, and items you no longer use.
- Reuse containers: Repurpose clean jars and suitable baskets you already own.
- Think vertically: Use shelf inserts and vertical dividers to take advantage of unused height.
- Label selectively: Labels are most useful for containers and baskets whose contents aren’t immediately obvious.
- Organize one area at a time: Start with one drawer or cabinet instead of buying supplies for the entire kitchen.
- Measure before purchasing: Check dimensions carefully to avoid buying organizers that don’t fit.
- Prioritize daily problems: Spend money on the storage solutions that save the most time or reduce the most clutter.
Best Kitchen Organization Products Worth Considering
If you’re looking to improve your kitchen without building every organizer yourself, a few practical products can offer good value.
| Product | Best use | What to look for |
|---|---|---|
| Tiered spice rack | Spices and seasonings | Adjustable or cabinet-friendly dimensions |
| Food storage containers | Dry goods and leftovers | Food-safe materials and secure lids |
| Drawer dividers | Utensils and gadgets | Adjustable width and easy cleaning |
| Pot lid organizer | Lids and cookware | Stable construction and suitable dimensions |
| Under-sink organizer | Cleaning supplies | Plumbing clearance and weight capacity |
| Stackable shelf inserts | Plates and cups | Stable design and appropriate load rating |
| Pantry door rack | Lightweight pantry items | Door clearance and secure mounting |
| Pull-out storage cart | Narrow gaps | Correct width, locking wheels, and stability |
| Clear storage bins | Snacks and packaged goods | Easy-to-clean surfaces and suitable size |
Before purchasing, measure your cabinets and drawers, consider how frequently you use each item, and check product dimensions and load limits. The best organizer is one that fits your kitchen and makes everyday tasks easier.
Common Kitchen Organization Mistakes to Avoid
Even attractive storage solutions can become frustrating when they don’t match your habits or available space.
Buying organizers before decluttering: You may end up storing items you don’t need and spending money unnecessarily.
Ignoring measurements: A basket that looks small online may not fit around pipes, drawer handles, or cabinet hinges.
Overfilling shelves: Crowded shelves make it harder to reach items and may exceed their safe load capacity.
Decanting every food product: Clear containers can look appealing, but transferring everything is not always necessary. Keep important ingredient and allergen information accessible.
Storing items far from where they’re used: Place frequently used cooking tools near the cooking area and cleaning supplies near the sink.
Creating a system that is difficult to maintain: Choose simple storage arrangements that household members can use consistently.
Forgetting safety: Keep heavy items stable, chemicals separate from food, and storage solutions clear of appliance ventilation and essential plumbing access.
Frequently Asked Questions
How do I organize a small kitchen with limited cabinet space?
Start by decluttering, then use vertical space with shelf inserts, door-mounted racks, and drawer dividers. Store frequently used items within easy reach and relocate rarely used appliances or cookware to less accessible storage areas.
What is the cheapest way to organize a kitchen?
Reuse containers, baskets, and jars you already own. Group similar items, label important categories, and rearrange existing shelves before buying new organizers.
How can I organize kitchen cabinets without renovating?
Use freestanding shelf inserts, adjustable dividers, stackable bins, and suitable door organizers. These solutions can improve storage without requiring new cabinets or major construction.
Are clear food storage containers worth buying?
They can make dry goods easier to identify and organize, especially in a pantry. However, you can achieve a similar effect with labeled baskets and original packaging. Choose food-safe containers that suit the ingredients you store.
How can I keep my kitchen organized long-term?
Return items to their designated places, clean up after cooking, and spend a few minutes each week checking for misplaced items and expired food. Simple systems are easier to maintain than complicated arrangements.
Final Thoughts
A more organized kitchen doesn’t require expensive renovations or a complete collection of matching storage products. Small changes, such as adding a spice rack, separating pot lids, organizing food containers, and maximizing under-sink space, can make everyday cooking much easier.
Start with the cabinet or drawer that causes the most frustration. Declutter it, measure the available space, and choose one practical solution. Once that area works well, move on to the next.
With a little planning and a few thoughtful DIY kitchen organization ideas, you can create a kitchen that feels more spacious, looks tidier, and works better for your daily routine.


Leave a Reply