
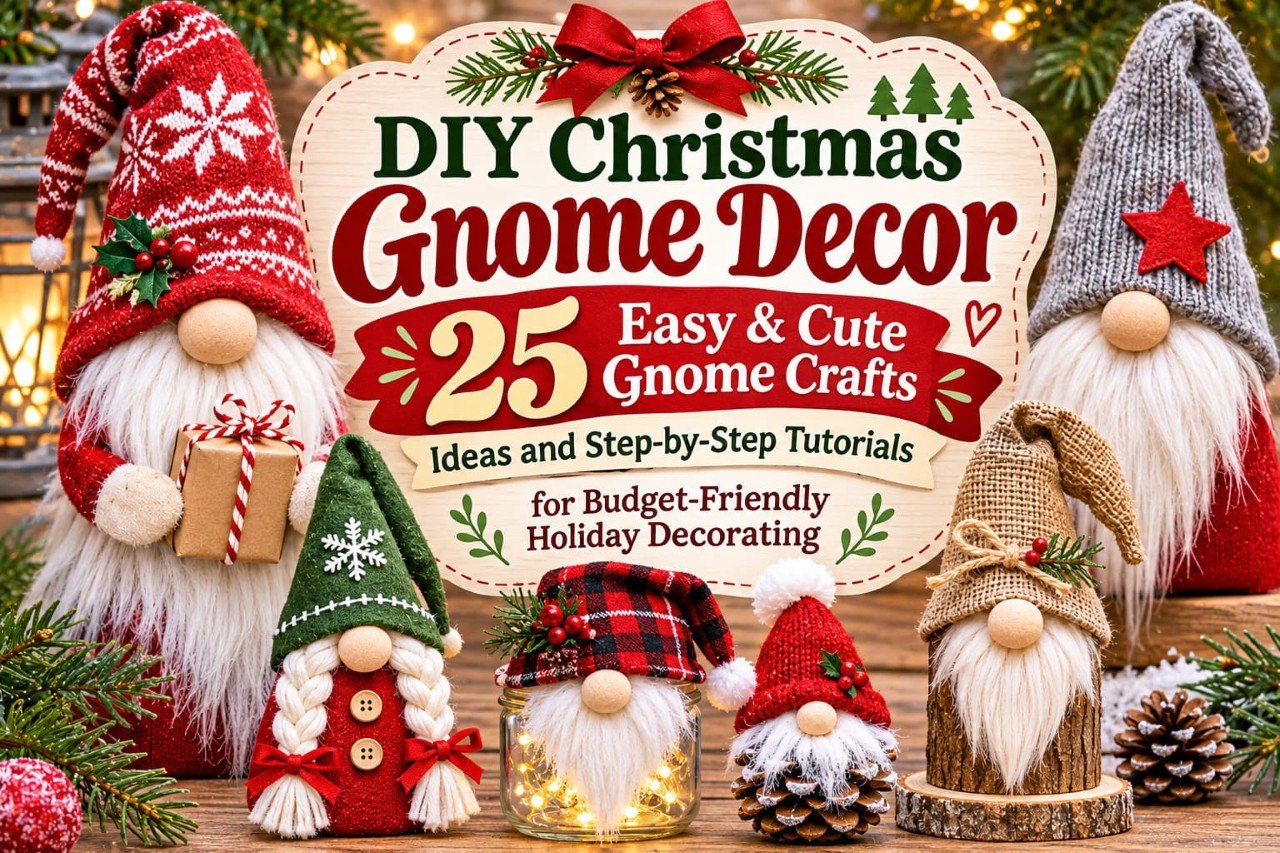
Gnomes have quietly taken over Christmas, and it’s easy to see why. With their pointy hats, fluffy beards and mysterious missing faces, these little Scandinavian-inspired characters bring instant warmth to a mantel, shelf or tree. The best part? DIY Christmas gnome decor is one of the easiest and cheapest holiday crafts you can make, even if you’ve never sewn a stitch.
In this guide you’ll find a simple step-by-step tutorial for your first gnome, 25 creative gnome craft ideas for every skill level, styling tips, and answers to the most common questions about making Christmas gnomes at home.
Why Christmas Gnomes Are So Popular
Gnomes come from Scandinavian folklore, where the tomte or nisse is a friendly household guardian who protects the home and farm, especially during the long winter nights. That cozy, protective spirit is exactly why gnomes fit so well into holiday decorating. They look festive without being tied to one religion or theme, they work in minimalist and farmhouse homes alike, and they are surprisingly forgiving to make. A slightly crooked hat just gives your gnome personality.
Supplies You Need for DIY Christmas Gnomes
You don’t need a craft store haul. Most gnomes can be made from a small mix of the following:
- Fabric or felt in red, green, white, gray or plaid for the hat and body
- Faux fur, yarn, cotton or wool roving for the beard
- A nose: a wooden bead, pom-pom or small ball of felt
- Filling: rice, poly-fil, or dry lentils for weight
- A base: a sock, a cardboard cone, a foam cone, a wooden spool or a small jar
- Hot glue gun or fabric glue, scissors and a ruler
- Optional extras: pine sprigs, jingle bells, mini pom-poms, buttons, twine, glitter
How to Make a Simple No-Sew Christmas Gnome (Step by Step)
This beginner gnome takes about 20 minutes and needs no sewing at all.
- Make the body. Cut the cuff off a tall sock and fill it about two-thirds with rice for a sturdy, weighted base. Tie or glue it closed.
- Cover the base. Wrap felt or fabric around the filled sock and glue it so the body looks neat and flat on the bottom.
- Cut the hat. Cut a large triangle or half-circle from felt. Roll it into a cone and glue the seam.
- Make the beard. Glue faux fur, yarn loops or cotton to the front of the body, covering the top edge generously.
- Add the nose. Glue a wooden bead or pom-pom right in the middle of the beard, just under where the hat will sit.
- Place the hat. Slide the cone over the top so it covers the upper beard and nose edge, with the nose peeking out. Glue it in place.
- Finish with details. Add a bell, a bow, a sprig of greenery or a tiny star to the hat.
That’s it. Once you’ve made one, you’ll want to make a whole family.
25 DIY Christmas Gnome Craft Ideas
Easy No-Sew Gnomes (Beginner)
- Sock gnomes: The classic rice-filled version above. Quick, cheap and endlessly customizable.
- Paper cone gnomes: Roll cardstock into cones for lightweight table decor or garland pieces.
- Toilet paper roll gnomes: Cover a tube in fabric or paper, add a hat and cotton beard. Great for kids.
- Pom-pom gnome ornaments: Hang a small pom-pom nose and felt hat from a string for the tree.
- Mason jar gnomes: Cover the lid with a felt hat, glue a beard around the jar and fill with fairy lights or faux snow.
Dollar Store Gnomes (Budget-Friendly)
- Dollar store tree gnomes: Use a small artificial tree as the hat and add a beard and nose underneath.
- Wooden spool gnomes: Craft spools make perfect bodies for small tabletop gnomes.
- Dish scrubber gnomes: Flip a sponge, add a hat and beard, and you have a tiny tabletop friend.
- Foam cone gnomes: Wrap foam cones in fabric or faux fur for tall, elegant decor.
- Wood-bead gnome garland: String wooden beads and little felt hats to drape across a shelf.
Rustic and Farmhouse Gnomes
- Wood slice gnomes: Glue a felt hat on a log slice and add a small beard.
- Plaid flannel gnomes: Use old flannel shirts for a cozy, upcycled look.
- Burlap gnomes: Natural texture pairs well with pine cones and evergreen sprigs.
- Gnome wreath: Attach several small gnomes to a grapevine wreath for a front-door statement.
- Pine cone gnomes: Use a pine cone as the body, with a felt hat and cotton beard.
Sewn and Crafted Gnomes (Intermediate)
- Sewn fabric gnomes: Stitch two fabric shapes together, stuff and add a beard for a polished look.
- Knitted or crocheted gnomes: A great way to use leftover yarn. Patterns are easy to find for all levels.
- Gnome stockings: Add a beard and nose to the top of a felt stocking for a cute twist.
- Needle-felted gnomes: Wool roving makes soft, adorable gnomes with a handmade feel.
- Gnome pillows: Sew a simple pillow shape with a hat and beard appliqué for the couch.
Creative Gnome Decor for Every Room
- Gnome advent calendar: Hang 24 tiny gnomes or gnome pockets, one for each day.
- Gnome door hanger: Cut a large gnome shape from wood or felt and hang it on a door or wall.
- Gnome table centerpiece: Group three gnomes of different heights on a tray with candles and greenery.
- Gnome gift toppers: Skip the bow and glue a mini gnome on top of each present.
- Gnome place cards: Write a guest name on a small gnome hat or beard for a festive dinner table.
Styling Tips: How to Decorate with Christmas Gnomes
Group in threes. Odd-numbered groupings look natural. Vary the height and hat colors for visual interest.
Pick a color palette. Classic red and white feels traditional. Gray, cream and sage green feels modern and calm. Buffalo plaid leans cozy and rustic.
Mix in natural textures. Pine branches, pine cones, wood slices and twine tie gnomes into the rest of your decor.
Use the whole house. Try them on the mantel, entryway table, bookshelf, kitchen windowsill or even the Christmas tree.
Add a little light. A string of warm fairy lights behind a row of gnomes makes them glow.
Common Mistakes to Avoid
- Too much glue. Hot glue can show through light fabrics. Use thin lines and let it cool slightly.
- No weight in the base. Lightweight gnomes tip over easily. A bit of rice or lentils keeps them stable.
- A hat that’s too small. Make the hat bigger than you think. Gnome hats are tall and dramatic.
- Skipping the beard trim. Trim fur or yarn after gluing to keep the shape neat.
Frequently Asked Questions About DIY Christmas Gnomes
What is the easiest way to make a Christmas gnome?
The no-sew sock gnome. It uses a sock, rice, felt and glue, and takes less than half an hour.
What material is best for a gnome beard?
Faux fur gives a realistic fluffy look, yarn is cheap and easy to shape, and cotton or wool roving works well for a soft, natural feel.
How do I keep my gnome from tipping over?
Fill the base with rice, dry beans, lentils or small pebbles so it has some weight.
Why don’t gnomes have faces?
The nose peeking out from the beard and hat is part of their charm. It keeps the design simple and lets the character come from the colors and fabrics.
Can kids make Christmas gnomes?
Yes. Paper cone gnomes and toilet paper roll gnomes are ideal for kids. Adults should handle hot glue.
Can I sell the gnomes I make?
Many crafters do. If you use someone else’s pattern or design, check the license first, or create your own so you’re free to sell.
How can I store my gnomes after Christmas?
Wrap them in tissue paper and keep them in a sturdy box in a dry place so hats and beards stay in shape.
Final Thoughts
DIY Christmas gnome decor is proof that the cutest holiday decorations are often the simplest. With a sock, a little felt and some glue, you can fill your home with handmade charm that looks far more expensive than it is. Start with one gnome, then see how quickly your collection grows.
Which gnome will you make first?


Leave a Reply