
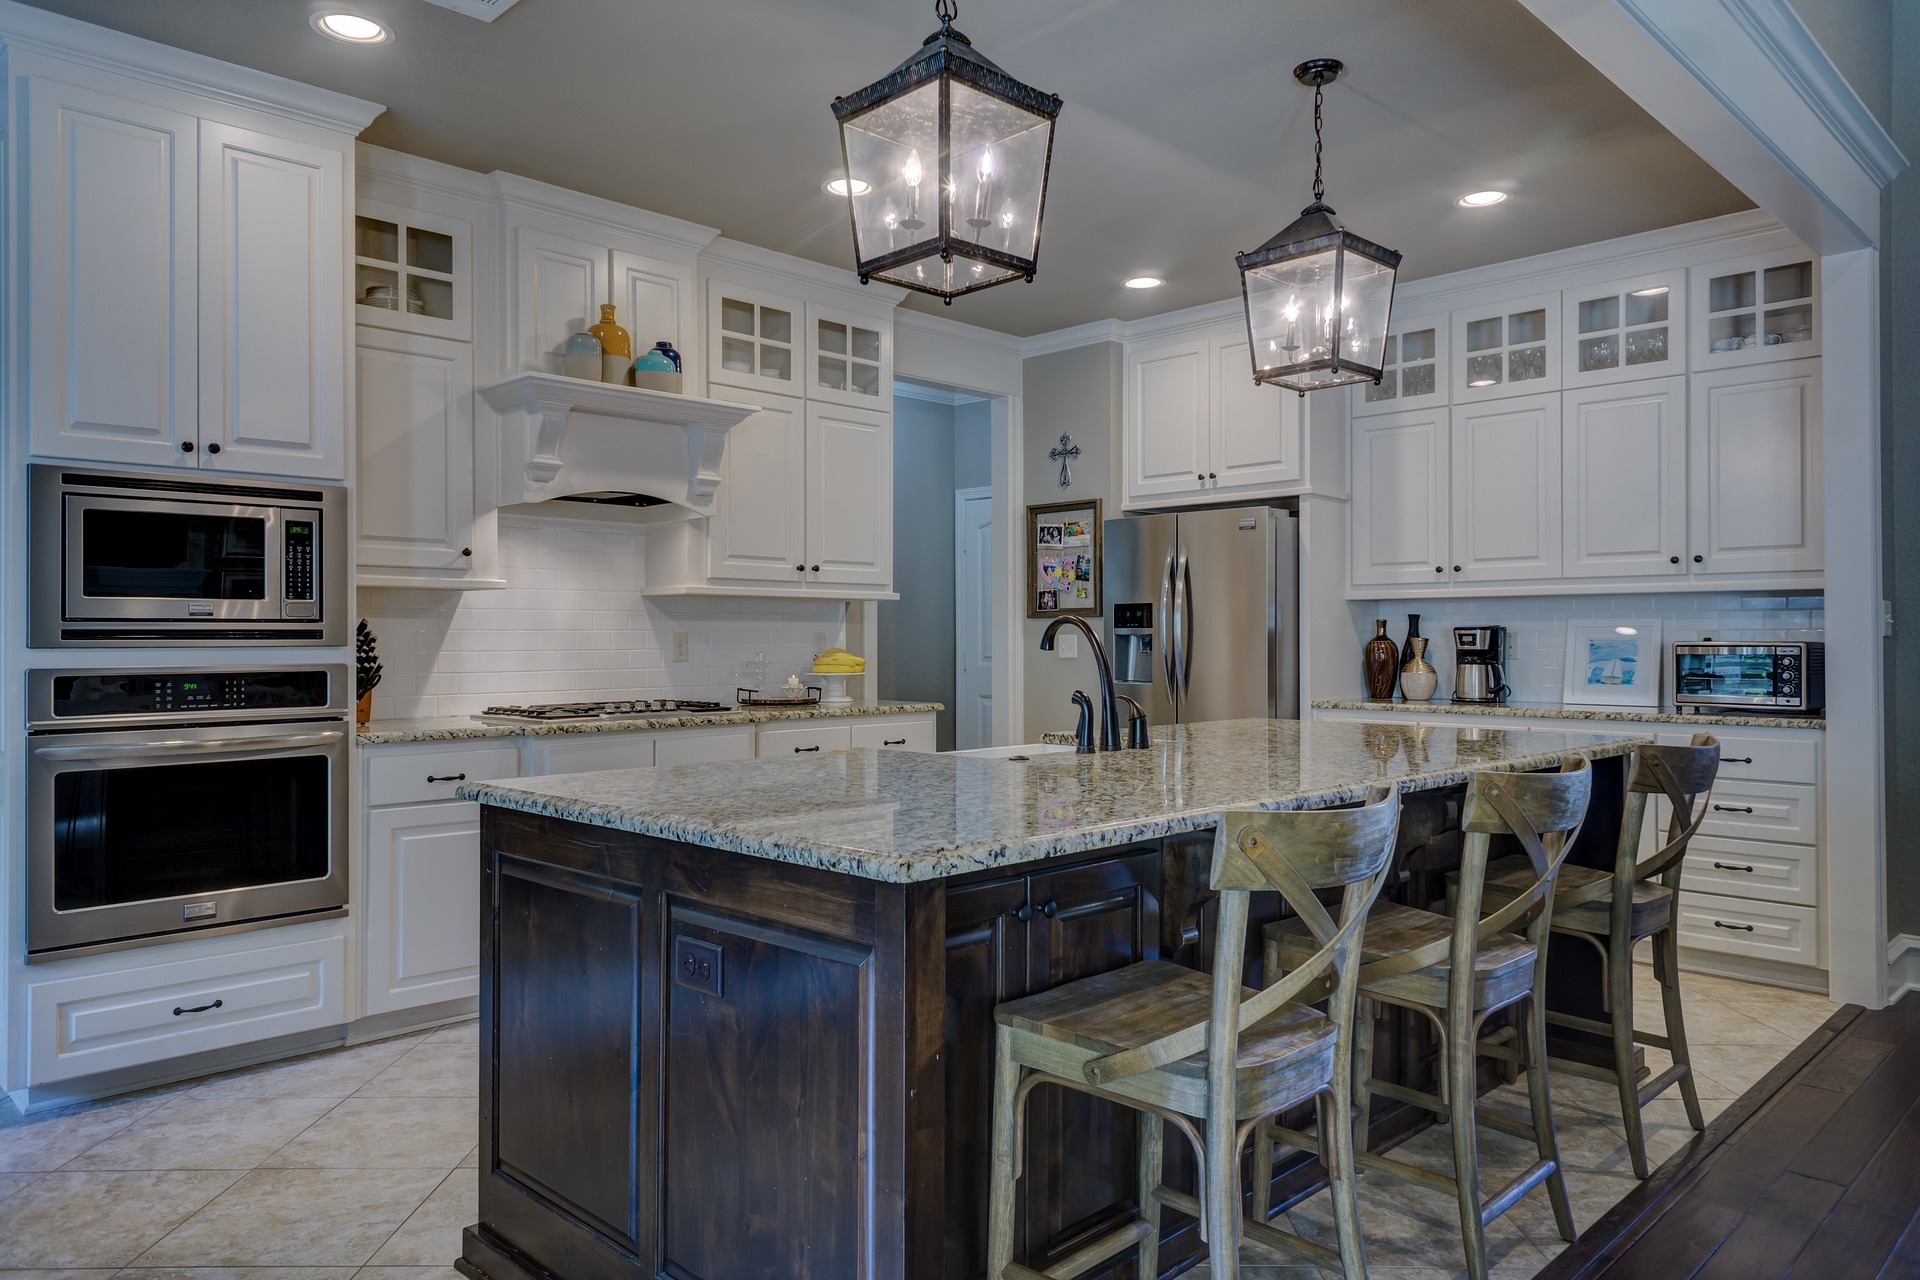
Upgrades Without Replacing Them
Want to give your kitchen a fresh, expensive-looking makeover without spending thousands of dollars on new cabinets? The good news is that you don’t need to replace your existing cabinetry to transform the look of your kitchen. With a few affordable materials, some creativity, and a little DIY effort, you can make old cabinets look modern, stylish, and beautifully updated.
Kitchen cabinets take up a large amount of visual space, so even small changes can make a dramatic difference. A fresh coat of paint, modern handles, decorative trim, or better lighting can completely change the atmosphere of your kitchen without requiring a full renovation.
Whether you love a modern minimalist kitchen, a cozy farmhouse style, or an elegant contemporary look, these DIY kitchen cabinets ideas will help you upgrade your space on a budget.
In this guide, you’ll discover 10 easy cabinet makeover projects, the materials you’ll need, approximate costs, and practical tips for achieving professional-looking results.
1. Paint Your Kitchen Cabinets for a Fresh New Look
Painting is one of the most effective ways to transform outdated kitchen cabinets without replacing them. It can help refresh worn finishes, update old-fashioned colors, and create a cohesive look throughout the kitchen.
If your cabinets are structurally sound, a new color may be all they need.
Best cabinet paint colors:
- Warm white for a bright, timeless kitchen
- Sage green for a natural, calming atmosphere
- Greige for a sophisticated neutral look
- Navy blue for a bold, elegant statement
- Charcoal gray for a modern, dramatic finish
Materials you’ll need:
- Cabinet-appropriate paint
- Compatible primer
- Degreasing cleaner
- Sandpaper or an appropriate surface-preparation product
- Paintbrushes and a small roller
- Painter’s tape
- Drop cloths and protective equipment
How to do it:
- Remove cabinet doors, drawers, and hardware, labeling each piece so it can be reinstalled correctly.
- Clean the surfaces thoroughly to remove grease and cooking residue.
- Prepare the finish according to the paint manufacturer’s instructions.
- Apply a compatible primer if required.
- Apply thin, even coats of cabinet paint, allowing the recommended drying time between coats.
- Let the finish cure fully before reinstalling the doors and using the cabinets heavily.
Estimated budget: $50–$150 for a small to medium DIY project, depending on the cabinet size, paint quality, and supplies you already own.
Designer tip: For a polished result, choose a finish designed for cabinetry and everyday cleaning. Satin or semi-gloss finishes are common choices, but the best option depends on the product and your desired appearance.
2. Replace Old Handles With Modern Cabinet Hardware
<AsyncImage query=”modern kitchen cabinet hardware makeover brushed brass cabinet pulls on cream shaker cabinets close up” aspectRatio=”16:9″ width=”100%” />
One of the easiest cheap kitchen upgrades is replacing old cabinet handles and knobs. Hardware may seem like a small detail, but it can influence the entire style of your kitchen.
For example, dated wooden knobs can make otherwise attractive cabinets feel old-fashioned. Replacing them with simple metal pulls can create a more modern and coordinated appearance.
Popular hardware styles:
- Brushed brass for a warm, elegant finish
- Matte black for a contemporary look
- Brushed nickel for a clean, understated style
- Antique bronze for traditional or farmhouse kitchens
- Simple stainless steel for a timeless, practical option
Materials you’ll need:
- New cabinet knobs or pulls
- Measuring tape
- Screwdriver
- Pencil
- Drill and suitable drill bit, if new holes are necessary
- Cabinet hardware template, optional
How to do it:
- Count the knobs and pulls you need to replace.
- Measure the distance between existing screw holes.
- Choose replacement hardware that matches the existing hole spacing whenever possible.
- Remove the old hardware.
- Install the new pieces and tighten the screws securely.
- Check that all handles are aligned consistently.
Estimated budget: $20–$80, depending on the number and quality of the handles.
Money-saving tip: Choose replacement pulls with the same hole spacing as your existing hardware. This can save you from drilling new holes and repairing the old ones.
If you need new holes, measure carefully and check the door material before drilling. Use a template to help keep the placement consistent.
3. Add Peel-and-Stick Wallpaper to Cabinet Interiors
Want to add personality to your kitchen without making a permanent change to the outside of your cabinets? Consider lining selected cabinet interiors or the backs of open shelves with decorative adhesive wallpaper.
This is a simple way to introduce a subtle pattern, color, or texture to your kitchen.
Design ideas:
- Soft botanical patterns for a natural look
- Marble-inspired designs for a sophisticated finish
- Neutral geometric patterns for modern kitchens
- Small vintage prints for farmhouse or cottage-style spaces
Materials you’ll need:
- Removable adhesive wallpaper suitable for the surface
- Measuring tape
- Scissors or a craft knife
- Smoothing tool
- Cleaning cloth
How to do it:
- Empty the cabinet and clean the interior surface.
- Measure the back panel or shelf area.
- Cut the wallpaper to size.
- Peel away the backing gradually.
- Smooth the material as you apply it to reduce air bubbles.
- Trim the edges carefully and allow the adhesive to settle.
Estimated budget: $10–$30.
Important tip: Cabinet interiors experience friction, spills, and frequent cleaning. Choose a durable product that is suitable for the intended surface, and avoid placing adhesive wallpaper where it may contact food directly. Check whether the adhesive could damage the cabinet finish when removed.
For the most polished result, use the pattern selectively rather than covering every visible surface with a busy design.
4. Install Under-Cabinet Lighting
Lighting can make even simple kitchen cabinets look more luxurious. Under-cabinet lighting highlights your backsplash, improves visibility on work surfaces, and creates a warm atmosphere in the evening.
You don’t necessarily need an electrician for a basic plug-in or battery-powered lighting kit, although permanent hardwired installations require appropriate electrical expertise.
Affordable lighting options:
- Rechargeable LED light bars
- Battery-powered motion-sensor lights
- Plug-in LED strips
- Dimmable LED lighting kits
Materials you’ll need:
- A suitable under-cabinet lighting kit
- Measuring tape
- Mounting clips or compatible adhesive
- Cleaning cloth
- Optional cable-management accessories
How to do it:
- Measure the underside of your cabinets.
- Choose lighting with a suitable brightness and color temperature.
- Clean the mounting surface.
- Position the lights where they will illuminate the countertop evenly.
- Attach the lights according to the manufacturer’s instructions.
- Conceal accessible cables neatly and test the lighting.
Estimated budget: $15–$60 for a basic DIY setup.
Designer tip: Warm or neutral white lighting often creates a welcoming atmosphere. Choose a consistent color temperature throughout the kitchen to avoid an uneven appearance.
Make sure the lights are suitable for the kitchen environment and installed away from excessive heat, water, and other hazards. Do not modify electrical wiring unless you are qualified to do so.
5. Add Decorative Trim for a Custom Cabinet Look
If your kitchen cabinets have plain, flat doors, adding decorative trim can make them look more detailed and custom-made.
For example, you can create a shaker-inspired appearance by adding a simple rectangular frame to flat cabinet doors. This works especially well if you prefer traditional, transitional, or modern farmhouse interiors.
Materials you’ll need:
- Lightweight trim suitable for cabinet doors
- Measuring tape
- Pencil
- Miter box or suitable cutting tool
- Compatible adhesive or appropriate fasteners
- Filler and caulk, if needed
- Primer and paint
How to do it:
- Remove the cabinet doors and place them on a protected, flat surface.
- Measure each door and plan the trim layout.
- Cut the trim pieces to size, including the appropriate angled corners.
- Dry-fit the pieces to confirm that the frame is even.
- Attach the trim using a method suitable for the door material.
- Fill small imperfections and sand as needed.
- Prime and paint the door for a seamless finish.
Estimated budget: $25–$80, depending on the number of doors and the trim you choose.
Designer tip: Keep the frame proportions consistent across all the cabinet doors. A simple, symmetrical design usually looks more expensive than an overly decorative pattern.
Before beginning, check whether your cabinet doors are solid wood, MDF, laminate, or another material. Not every adhesive or fastening method is appropriate for every surface.
6. Try a Two-Tone Cabinet Makeover
Two-tone cabinets are a great way to update your kitchen without changing the entire space. Instead of painting every cabinet the same color, use one shade for the upper cabinets and another for the lower cabinets or island.
This creates visual interest while allowing you to keep the existing cabinet layout.
Color combinations to try:
- White upper cabinets with sage green lower cabinets
- Cream upper cabinets with navy blue lower cabinets
- Warm white upper cabinets with charcoal gray lower cabinets
- Beige upper cabinets with muted olive lower cabinets
- Light gray upper cabinets with natural wood lower cabinets
Materials you’ll need:
- Cabinet paint in two coordinating colors
- Compatible primer
- Cleaning supplies
- Painter’s tape
- Brushes and rollers
- Drop cloths
How to do it:
- Decide which cabinets will receive each color.
- Test both shades in your kitchen’s lighting.
- Remove the doors and hardware.
- Clean and prepare all surfaces.
- Prime where needed.
- Apply the selected colors in thin, even coats.
- Allow the paint to cure before reinstalling the doors.
Estimated budget: $60–$180, depending on the cabinet size and products used.
Money-saving tip: If the cabinet doors are in good condition, consider painting only the lower cabinets or island. This can create a noticeable change while reducing the amount of paint and preparation required.
7. Refresh Cabinet Doors With a Natural Wood Finish
Natural wood finishes add warmth and texture to a kitchen. If your cabinets are made from real wood or have a suitable wood veneer, refreshing the finish may be a better option than painting them.
A lighter oak-inspired look can create a Scandinavian aesthetic, while walnut tones add depth and sophistication.
Materials you’ll need:
- Suitable wood cleaner
- Sandpaper or an appropriate surface-preparation product
- Wood stain or finish compatible with the material
- Brushes or applicators
- Protective topcoat if required
How to do it:
- Determine whether the cabinet surface is solid wood, veneer, or laminate.
- Clean the doors and remove grease.
- Test the preparation method on a hidden area.
- Sand or strip the existing finish only if the material allows it.
- Apply the selected stain or finish according to the manufacturer’s instructions.
- Add a compatible protective coating if required.
- Allow the finish to cure before reinstalling the doors.
Estimated budget: $30–$100 for a small project.
Important tip: Do not sand thin veneer aggressively. Laminate cannot be stained like natural wood, so it may need a different approach, such as compatible paint or specialized refinishing products.
If your cabinets have a convincing natural wood finish that is simply dull, a suitable cleaning and maintenance product may be all they need.
8. Replace or Upgrade Cabinet Hinges
Cabinet hinges are easy to overlook, but they affect how your cabinets open, close, and align. Worn or poorly adjusted hinges can make an otherwise attractive kitchen feel neglected.
Replacing damaged hinges or upgrading compatible hardware can improve the everyday experience of using your kitchen.
Materials you’ll need:
- Replacement hinges compatible with your cabinets
- Screwdriver
- Measuring tape
- Drill, if necessary
- Manufacturer’s installation instructions
How to do it:
- Identify the type of hinges currently installed.
- Check the cabinet door thickness, overlay, and mounting arrangement.
- Choose compatible replacement hinges.
- Remove one door at a time and keep track of the screws.
- Install the replacement hinges according to the instructions.
- Adjust the hinges so the doors sit evenly and close properly.
Estimated budget: $20–$80, depending on the number and type of hinges.
Why it’s worth it: Properly fitted soft-close hinges can make cabinet doors feel more refined and reduce the noise of slamming.
Important tip: Hinge compatibility matters. Not all hinges fit every cabinet door, and changing hinge types may require new holes or additional modifications. If your current hinges are in good condition, adjusting them may be enough to improve alignment.
9. Add Glass Inserts to Selected Cabinet Doors
Glass-front cabinets can make a kitchen feel lighter and more open. They also provide an opportunity to display attractive dishes, glassware, and carefully arranged kitchen accessories.
You don’t need to convert every cabinet. Adding glass to just one or two upper cabinet doors can create a stylish focal point.
Materials you’ll need:
- Cabinet doors suitable for modification
- Glass or an appropriate transparent panel
- Compatible glazing hardware or retaining strips
- Suitable tools for the door construction
- Protective equipment
How to approach the project:
- Check whether the cabinet doors can safely accommodate an insert.
- Choose clear, frosted, or textured glass to suit your style.
- Confirm the required opening dimensions and panel thickness.
- Have the glass cut by a professional supplier where appropriate.
- Install the panel using a secure method suitable for the door.
- Check that the panel is firmly retained and the door operates correctly.
Estimated budget: $40–$120 or more, depending on the number of doors and the glass selected.
Designer tip: Frosted or textured glass can create a softer look and hide some of the cabinet contents. Clear glass works well when you want to display matching dishes and neatly organized shelves.
Safety note: Cutting cabinet doors and fitting glass requires care. If the door construction is unsuitable or you are uncertain about secure mounting, have a professional modify the doors. Glass inserts should be properly retained and appropriate for the application.
10. Organize Cabinet Interiors With Affordable Storage Upgrades
A kitchen can look better without changing the outside of the cabinets at all. Organizing the interiors makes the space easier to use and can help prevent clutter from spilling onto your countertops.
This is one of the most practical cheap kitchen upgrades, especially if your cabinets are in good condition but don’t provide efficient storage.
Affordable storage ideas:
- Shelf risers for plates and bowls
- Pull-out baskets for pots and pans
- Drawer dividers for utensils
- Small bins for snacks and packets
- Vertical organizers for baking trays
- Under-shelf baskets for additional storage
Materials you’ll need:
- Measuring tape
- Shelf risers or storage baskets
- Drawer organizers
- Non-slip liners, if suitable
- Optional removable hooks
How to do it:
- Empty one cabinet at a time.
- Remove expired food and items you no longer use.
- Measure the available shelf and drawer space.
- Choose storage accessories that fit without obstructing doors or drawers.
- Group similar items together.
- Return frequently used items to the easiest-to-reach areas.
Estimated budget: $15–$60, depending on the accessories you choose.
Organization tip: Store everyday plates and glasses at convenient heights, keep heavy cookware on sturdy lower shelves, and avoid overcrowding cabinets.
A tidy interior makes cooking easier and helps your kitchen feel more functional, even if the cabinetry itself remains unchanged.
How Much Do DIY Kitchen Cabinet Upgrades Cost?
The total cost depends on your kitchen size, materials, and how much work you can do yourself. Here is a rough comparison of the projects in this guide.
| Cabinet upgrade | Estimated budget | Skill level |
|---|---|---|
| Paint cabinets | $50–$150 | Intermediate |
| Replace handles | $20–$80 | Beginner |
| Add adhesive wallpaper | $10–$30 | Beginner |
| Install under-cabinet lighting | $15–$60 | Beginner for plug-in kits |
| Add decorative trim | $25–$80 | Intermediate |
| Create two-tone cabinets | $60–$180 | Intermediate |
| Refresh natural wood | $30–$100 | Intermediate |
| Upgrade hinges | $20–$80 | Beginner to intermediate |
| Add glass inserts | $40–$120+ | Intermediate to advanced |
| Organize cabinet interiors | $15–$60 | Beginner |
Prices are approximate estimates in US dollars and may vary by location, cabinet size, material quality, and the supplies you already own.
You do not need to complete every project at once. Start with one or two changes that will make the biggest visual difference in your kitchen.
6 Tips for Making Your Cabinet Makeover Look Professional
1. Clean Before You Upgrade
Kitchen cabinets collect grease, dust, and cooking residue. Proper cleaning is essential before painting, applying adhesive products, or installing new hardware.
Use a cleaner appropriate for your cabinet material and remove any residue according to the product instructions.
2. Test Paint Colors Before Committing
Kitchen lighting can make colors look different throughout the day. Test sample colors on a small, inconspicuous area or a spare door before painting the entire kitchen.
3. Keep Hardware Finishes Consistent
Matching cabinet pulls, knobs, and other visible metal finishes can create a more cohesive appearance. You do not need every metal element in the kitchen to be identical, but repeating a few finishes helps the room feel intentional.
4. Don’t Skip Surface Preparation
Paint and adhesive products work best when the surface is clean and properly prepared. Follow the manufacturer’s instructions for cleaning, sanding, priming, and curing.
5. Focus on One Main Style
Choose a general direction before starting. Modern kitchens often benefit from simple lines and understated colors, while farmhouse kitchens may suit warmer tones and traditional hardware.
Combining too many styles can make a makeover feel less cohesive.
6. Allow Enough Time for Paint to Cure
Paint may feel dry before it has fully hardened. Reinstalling doors or using cabinets too soon can cause scratches, sticking, or marks.
Follow the manufacturer’s recommended curing time before returning cabinets to normal use.
Frequently Asked Questions
How can I update kitchen cabinets without replacing them?
You can paint the doors, replace the handles, adjust or upgrade hinges, add decorative trim, improve lighting, or organize the interiors. The best option depends on the condition of your existing cabinets and the style you want to achieve.
What is the cheapest way to upgrade kitchen cabinets?
Replacing cabinet knobs and pulls is often one of the cheapest visible upgrades. Organizing the cabinet interiors and adjusting existing hinges can also improve the kitchen without requiring expensive materials.
Is painting kitchen cabinets worth it?
Painting can be worthwhile when the cabinet boxes and doors are structurally sound. It offers a significant visual change without the cost of new cabinetry. However, damaged doors, failing finishes, or surfaces that cannot accept paint may need repair or a different approach.
Can I paint laminate kitchen cabinets?
Yes, in many cases, but the surface needs the right preparation and compatible products. Clean the laminate thoroughly, use a primer designed for slick surfaces when required, and follow the paint manufacturer’s instructions. Test a small area first to confirm adhesion.
How can I make old kitchen cabinets look modern?
Try simple hardware, clean paint colors, under-cabinet lighting, and less clutter on the countertops. Warm white, sage green, greige, and natural wood tones are versatile choices for contemporary kitchen styles.
How long does a DIY kitchen cabinet makeover take?
A simple hardware replacement may take only a few hours. Painting cabinets can take several days because of cleaning, preparation, multiple coats, drying, and curing. More complex projects, such as adding glass inserts or decorative trim, may take longer.
Should I replace cabinet doors or keep the old ones?
If your cabinet boxes are solid but the doors are badly damaged or have an unsuitable style, replacing only the doors may be worth considering. If both the doors and boxes are in good condition, painting and hardware upgrades are usually simpler options.
Final Thoughts
You don’t need a complete kitchen renovation to create a fresh, stylish space. With a little planning and a few affordable materials, you can transform your existing cabinetry and make your kitchen feel more modern without replacing everything.
Whether you choose a fresh coat of paint, a cabinet hardware makeover, under-cabinet lighting, or better interior organization, even a small change can make a noticeable difference.
Start with the upgrades that fit your budget and skill level, prepare surfaces carefully, and focus on a consistent design. The most successful DIY kitchen cabinets projects combine practical improvements with details that make the room feel polished.
Save these cheap kitchen upgrades for your next weekend project, and give your kitchen a fresh new look while keeping your existing cabinets.


Leave a Reply